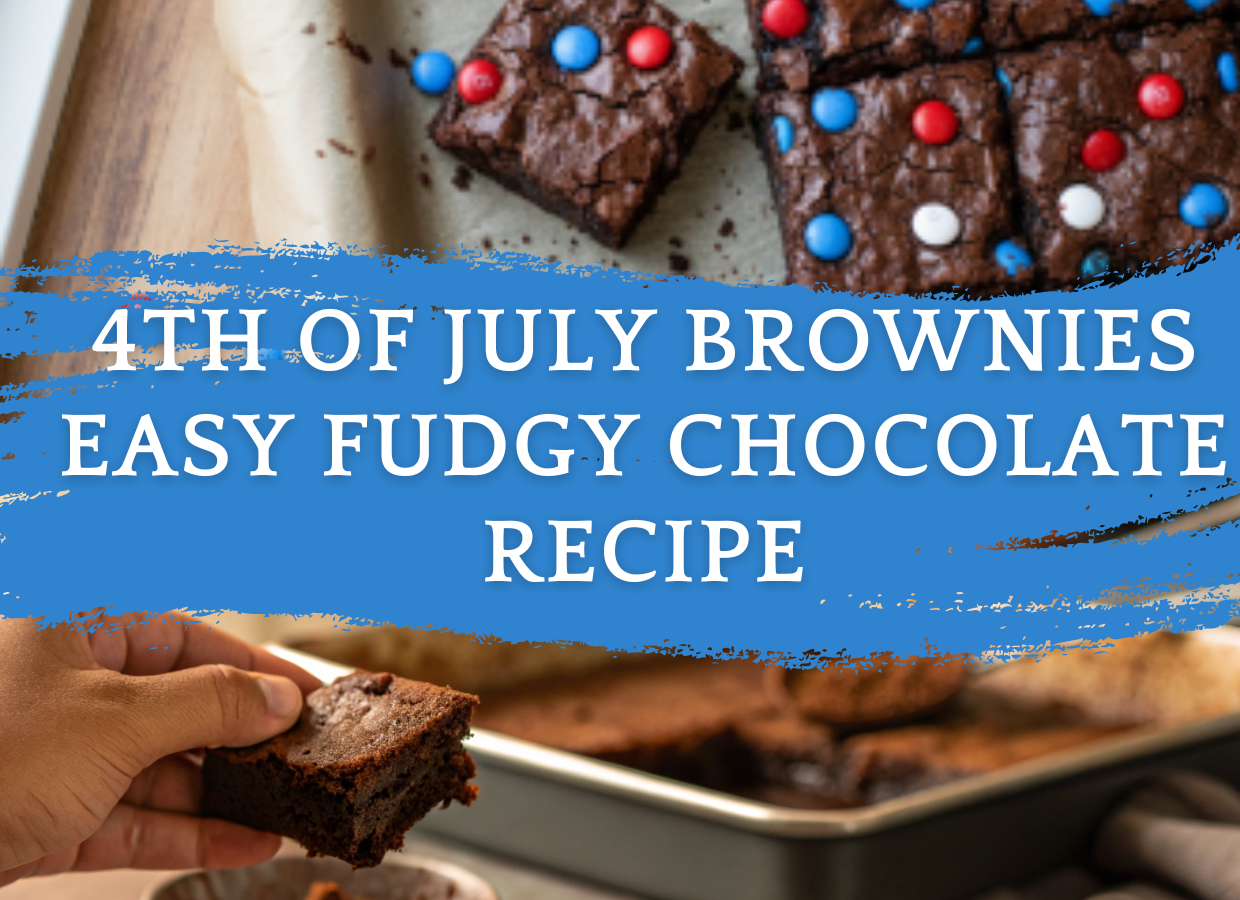
I remember the first time I brought brownies to a 4th of July cookout, I almost didn’t because I thought “everyone’s going to bring something fancier.” I was wrong. I showed up with a pan of slightly messy, crackly-topped brownies and left with an empty dish and three people asking for the recipe before I even sat down.
Why This Recipe Works
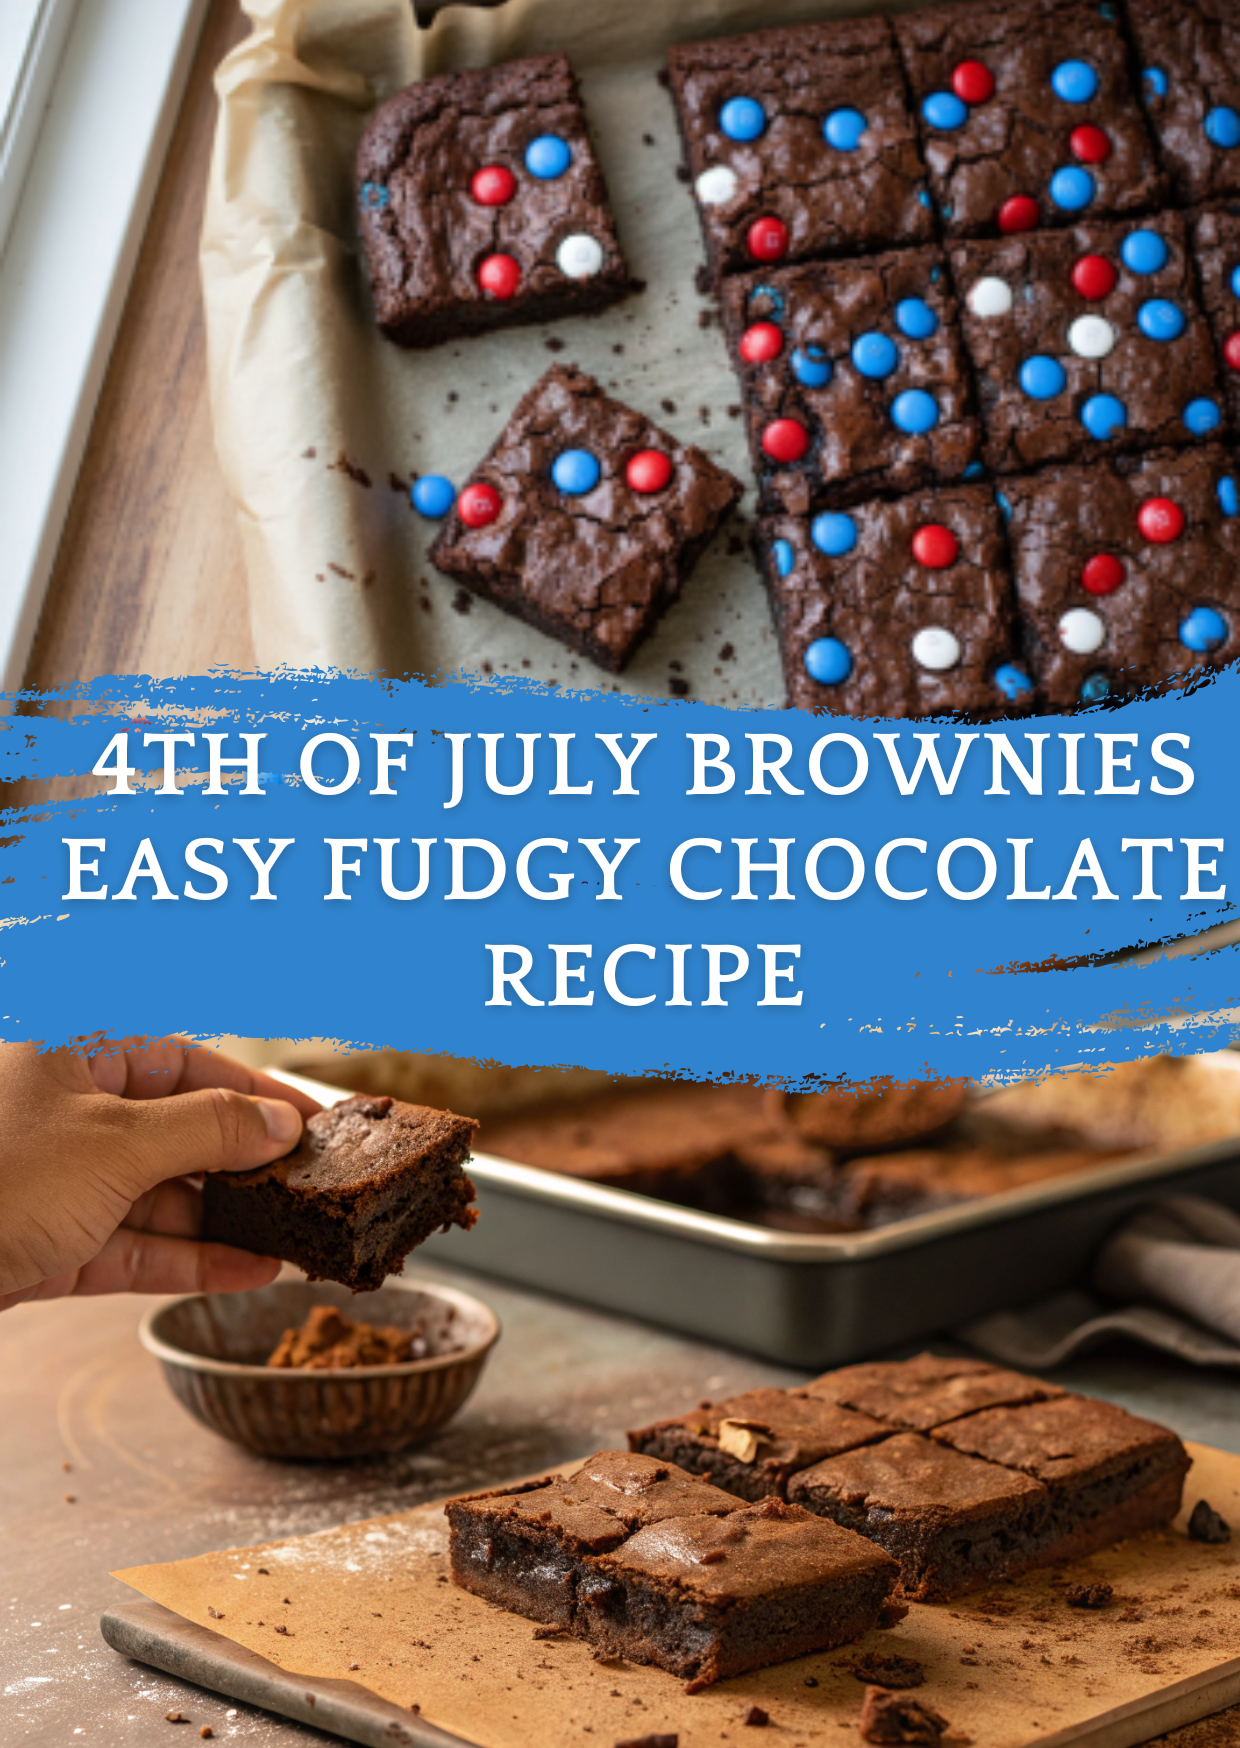
Here’s the thing: brownies don’t need decoration when they’re done right. What I figured out is people care way more about that fudgy center and shiny crackly top than anything patriotic or fancy. These hit that balance between gooey and structured, and the chocolate flavor carries the whole dessert table.
Ingredient Notes
I use Dutch-processed cocoa because it gives a deeper, darker chocolate taste that feels richer. Butter is non-negotiable here—it’s what gives that dense texture instead of a cakey bite. I’ve tried cutting sugar before and regretted it immediately because it kills the shiny top. Vanilla might seem small, but it rounds everything out.
How to Make It
I start by melting butter and mixing it with sugar while it’s still warm so it dissolves slightly. Then I add eggs one at a time, whisking until the batter gets glossy. That shine is what you’re looking for before anything else goes in.
Once the dry ingredients go in, I switch to folding instead of whisking. I learned the hard way that overmixing turns brownies into something closer to chocolate bread, which is not the goal. Chocolate chips go in at the end, and I always sneak a few extra on top before baking because they melt into little pockets.
I bake just until the edges are set and the center still looks slightly underdone. That part used to make me nervous, but that’s exactly what gives the fudgy texture once it cools.
Things I Learned the Hard Way
If you wait until a toothpick comes out clean, you’ve gone too far. Also, don’t cut them while hot unless you want a melted mess instead of clean squares. I once tried rushing cooling time by putting them in the fridge and ended up with weird texture changes on top.
Storage & Serving Suggestions
They keep well for about 3–4 days in an airtight container at room temperature. I actually think they taste better the next day. Serve them plain, or with ice cream if you want to go overboard. They also travel well, which is why I bring them to almost every summer gathering.
Ingredients
Equipment
Method
- Preheat oven to 350°F (175°C) and line an 8×8-inch baking pan with parchment paper.
- Melt butter and whisk it with sugar until slightly glossy.
- Add eggs one at a time, then mix in vanilla extract.
- In a separate bowl, combine flour, cocoa powder, and salt.
- Fold dry ingredients into wet mixture until just combined.
- Stir in chocolate chips, then spread batter into prepared pan.
- Bake for 22–28 minutes until edges are set but center is slightly soft.
- Cool completely before slicing into squares.